Note: The below instructions show how to set up Clarity VPN for PC or MAC with the settings needed to dramatically improve the bandwidth of your internet connection. Without these specific settings, you may experience periods of significant lag in your connectivity.
Please note that we are now using Tailscale VPN which incorporate 2FA [2 Factor Authentication] as an added security layer to our environment.
¶ Tailscale VPN (Zero Config)
Step 1: Confirm receiving your Clarity corporate account email [username@claritymis.com]. You should have a Clarity account and email available.
Step 2: Install Tailscale for you OS of Choice: Installation - Tailscale
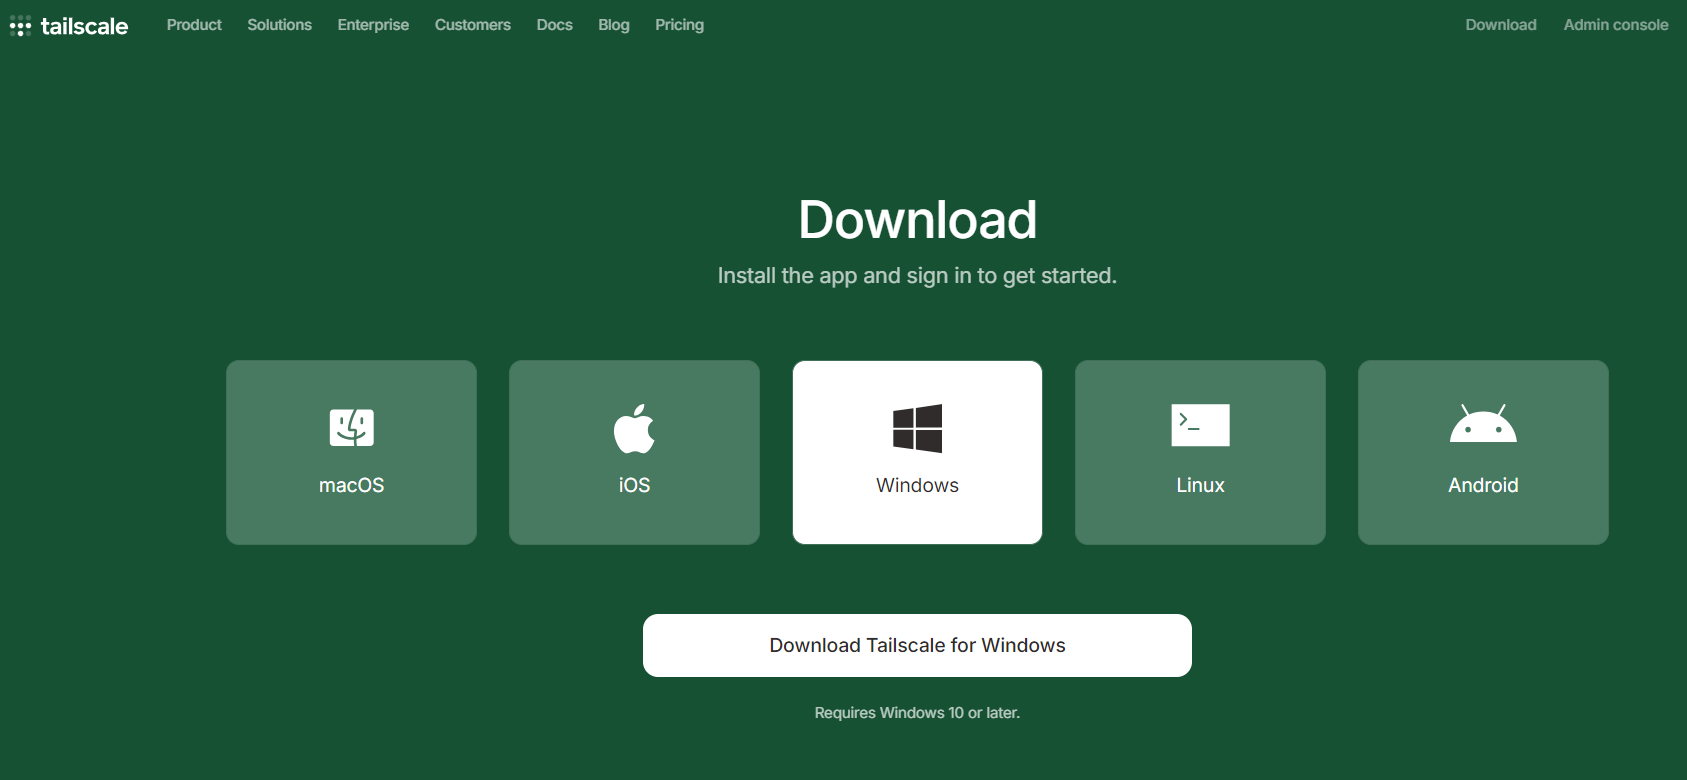
Step 3: After successful download of client software, perform the installation on your computer
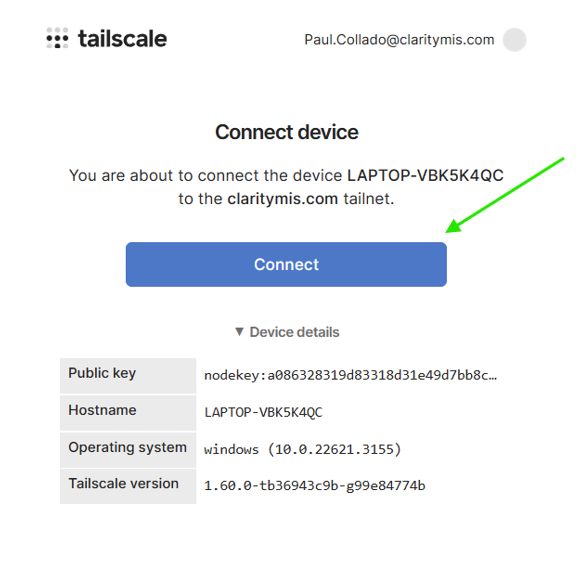
Step 4: Launch the Tailscale VPN client on your computer. You will be prompted to authenticate. Please use your claritymis username and password provided and click the Connect button:
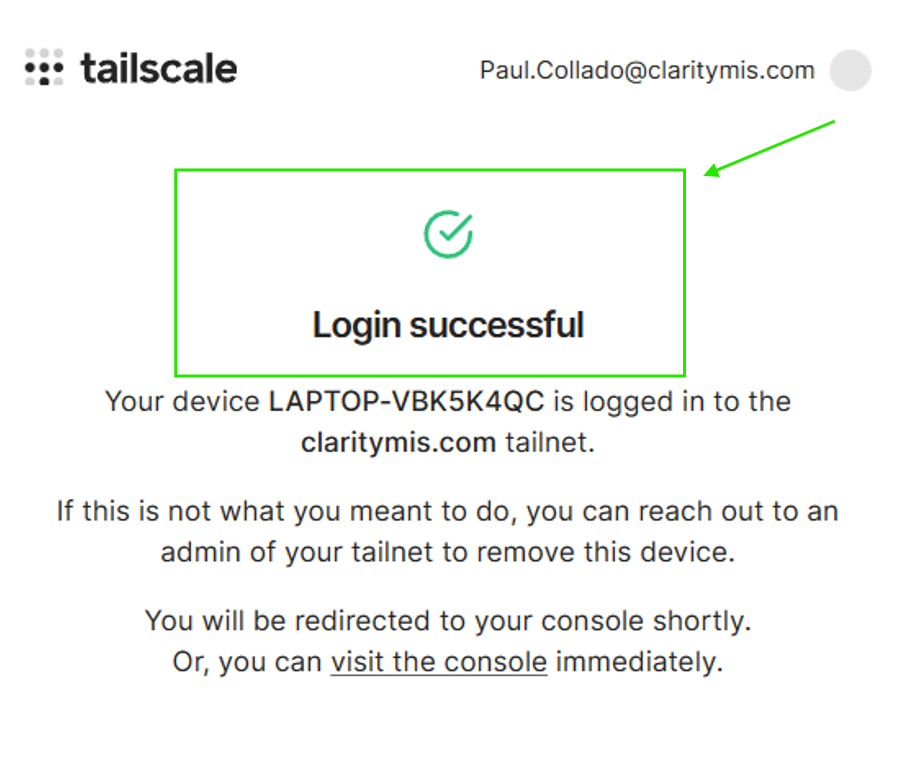
Step 3: After successful login, you will be properly authenticated and should receive a "Login successful" screen:
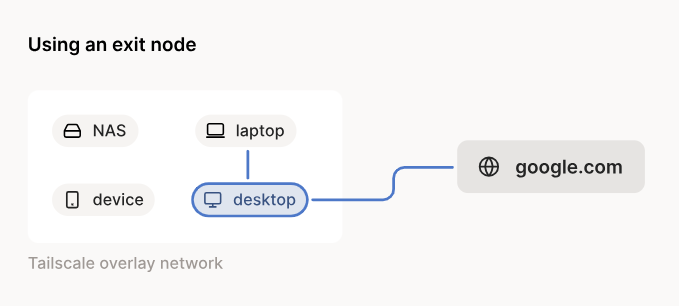
By default, Tailscale acts as an overlay network, which is also called ==Split Tunnel==: it only routes traffic between devices running Tailscale, but doesn't touch your public internet traffic, such as when you visit Google or Twitter. The overlay split network configuration is ideal for most people who need secure communication between sensitive devices (such as Clarity servers), but don't need extra layers of encryption or latency for their public internet connection.

However, there might be times when you want to route your public internet traffic. For example, you might want to route all your public internet traffic if required to access a client host or a client device via a Full Tunnel. This is accomplished by enabling Tailscale Exit node on your computer Tailscale.
You can do this by opening your Tailscale client from the system tray menu. Select the Tailscale icon and navigate to Use exit node. Then, select the machine name listed as the "recommended: exit node to use and select it. You will be on Full Tunnel configuration.
This completes your installation of our current variants of VPN tools used at Clarity. If you have any questions or issues please contact DevOPS@claritymis.com. Enjoy!
¶ Deprecated:
¶ Wireguard VPN:
Step 1: Request Wireguard Access from IT/DevOps department: DevOps@ClarityMIS.com
Step 2: Install Wireguard for you OS of Choice: Installation - WireGuard
Step 3: Load the Config sent to you from IT/DevOps department, and enjoy!
Wireguard will give us both the full and split tunneling options by defining allowed IPs. When you apply for Wireguard access, you will be given two config files. The split-tunnel will allow you to access all network resources, but all Internet traffic is still routed through your network. The full-tunnel, will allow you to route internet through the VPN, allowing you to emulate Clarity's public IP.