¶ Set up GTM and add tag to page
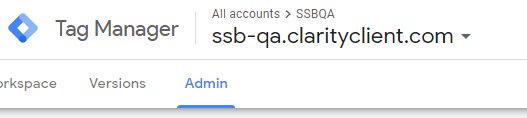
Go to your account for google tag manager, and click 'Admin'
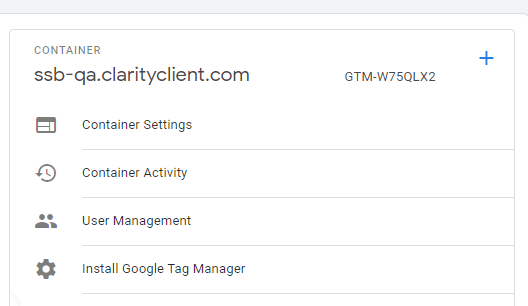
Under 'Container', click 'Install Google Tag Manager'
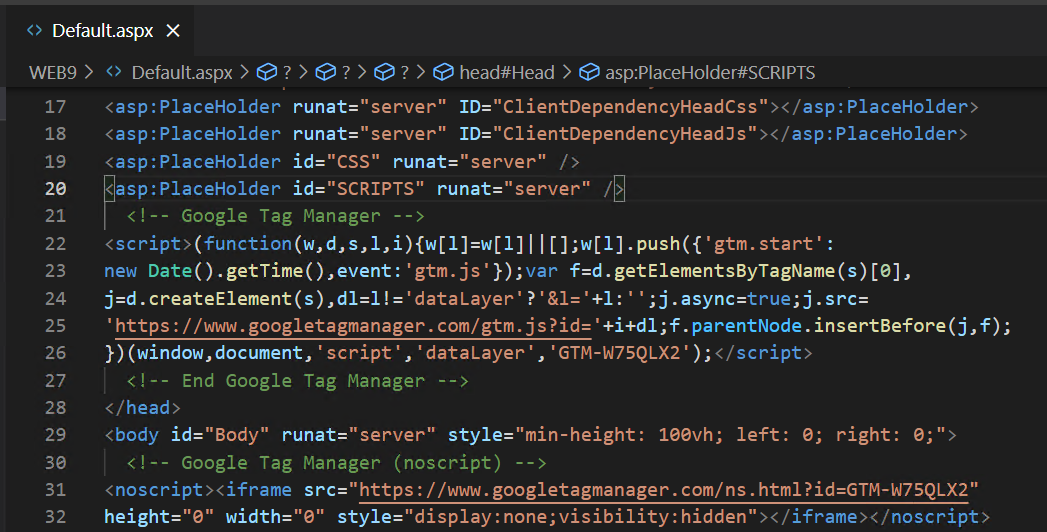
Paste the code snippets you are provided in WEB9/Default.aspx
¶ Get Google Analytics Tracking ID
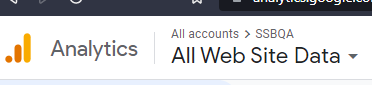
Navigate to Google Analytics, click the top 'All accounts' button\
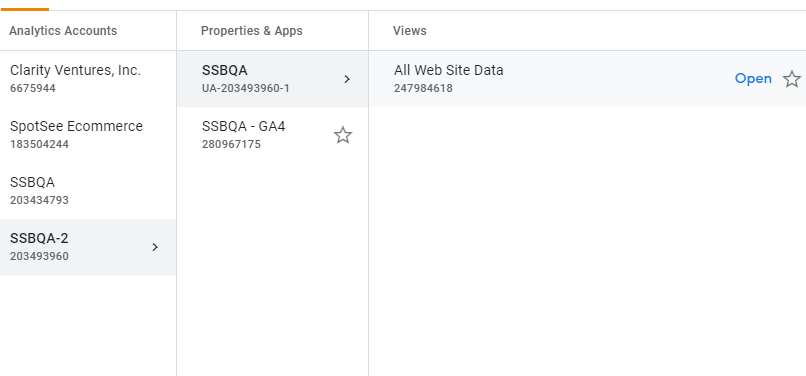
Click on the account created for you, the listed property, and that properties 'View'\
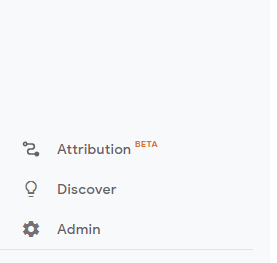
Once selected, at the bottom left of your page, click 'Admin'
Once there, under 'Property' click 'Tracking Info' then 'Tracking Code'
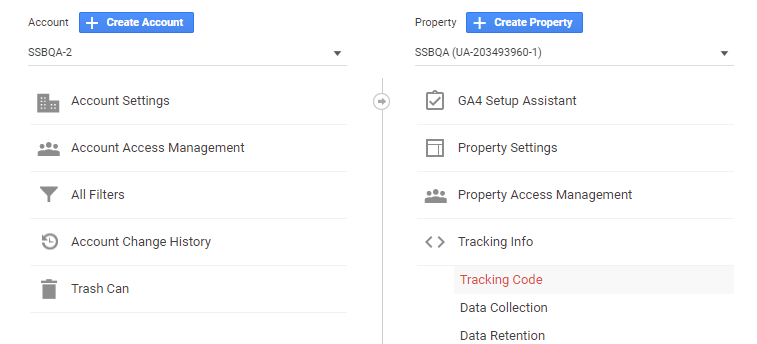
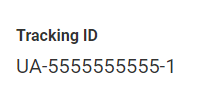
Copy the tracking ID shown
¶ Create Variable, Tags, and Triggers in GTM
¶ Variable
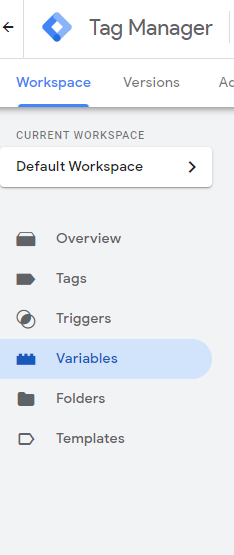
Navigate back to 'Workspace' in google tag manager. Click 'Variables'
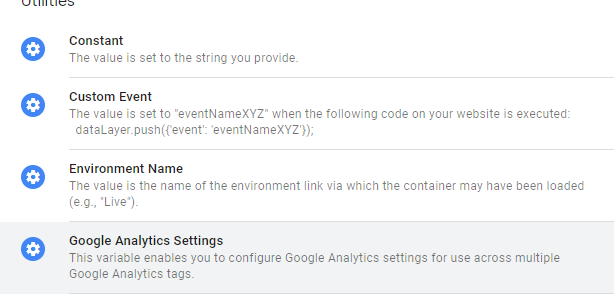
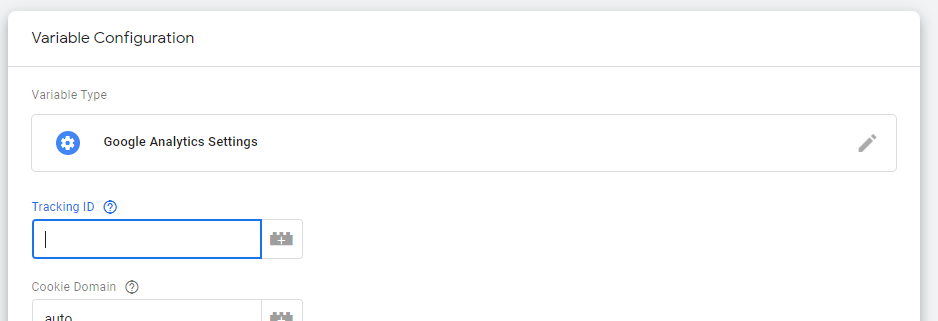
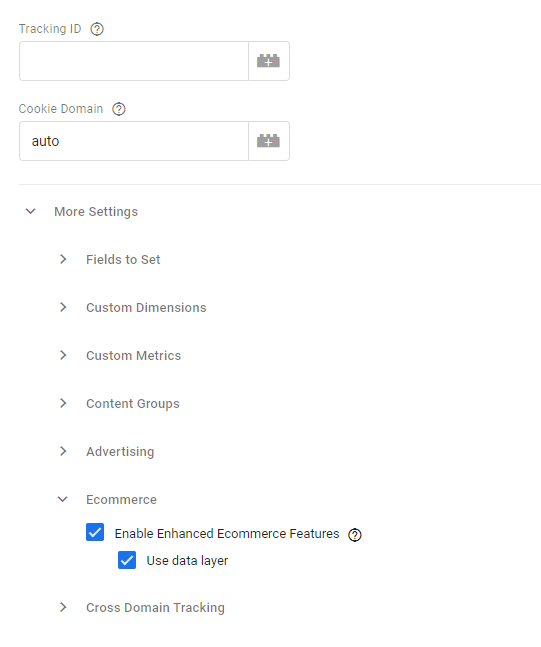
Create a new Variable. Choose 'Google Analytics Settings' for its type
Paste the tracking ID from the prior step
Under 'More Settings', check the following boxes
¶ Triggers
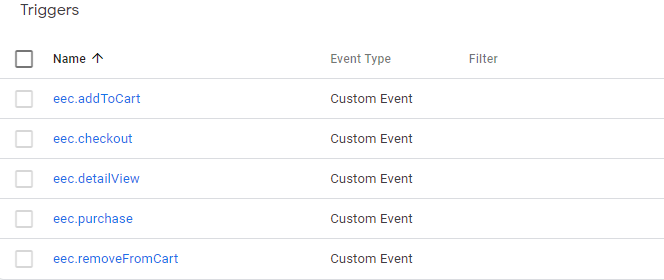
Create new triggers with the 'Custom Trigger' type, that correspond in name to the triggers as coded in cvGoogleTagManagerService.ts

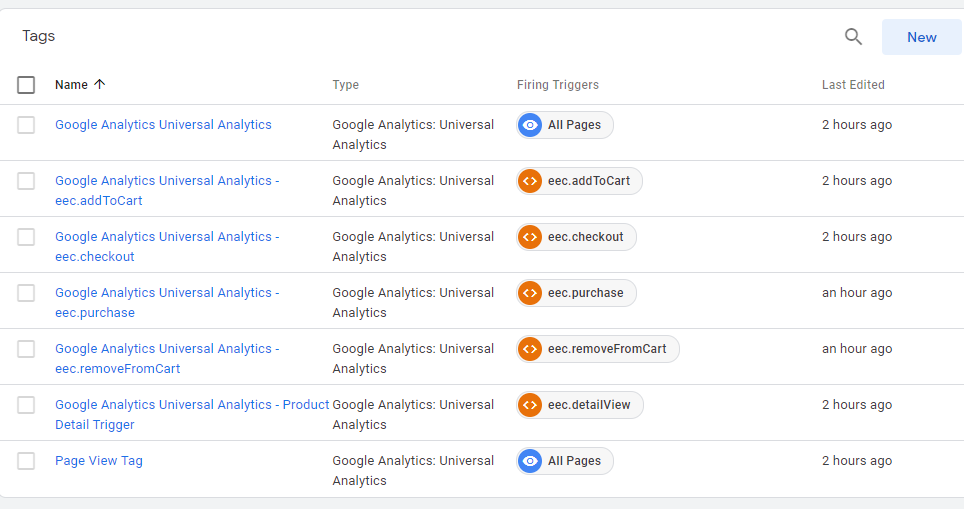
¶ Tags
¶ Track Type: Page View
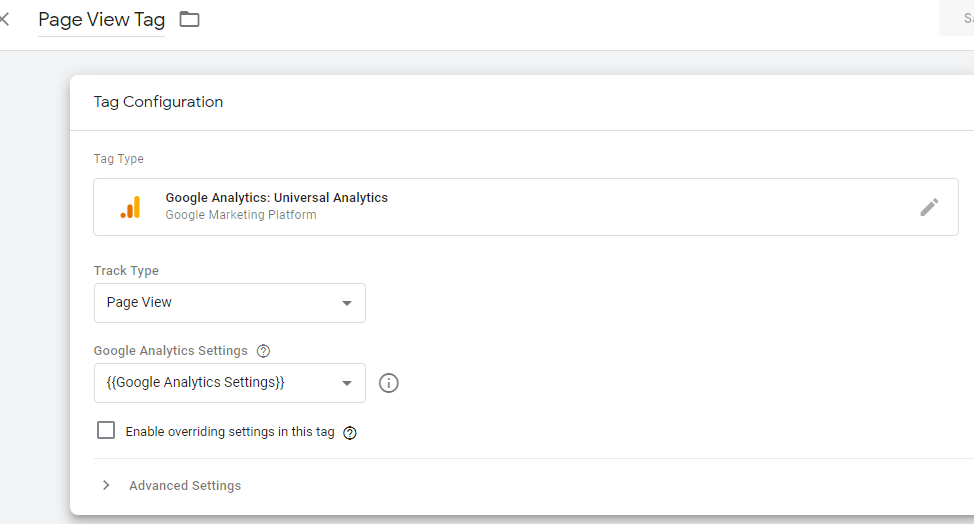
Create a 'Page View' tag, with the following settings. Note the Tag Type is 'Google Analytics: Universal Analytics and the Track Type is "Page View" . Associate its google analytics option with the variable you created earlier.
¶ Track Type: Event
Create new tags that correspond to the triggers you made earlier, with the following settings
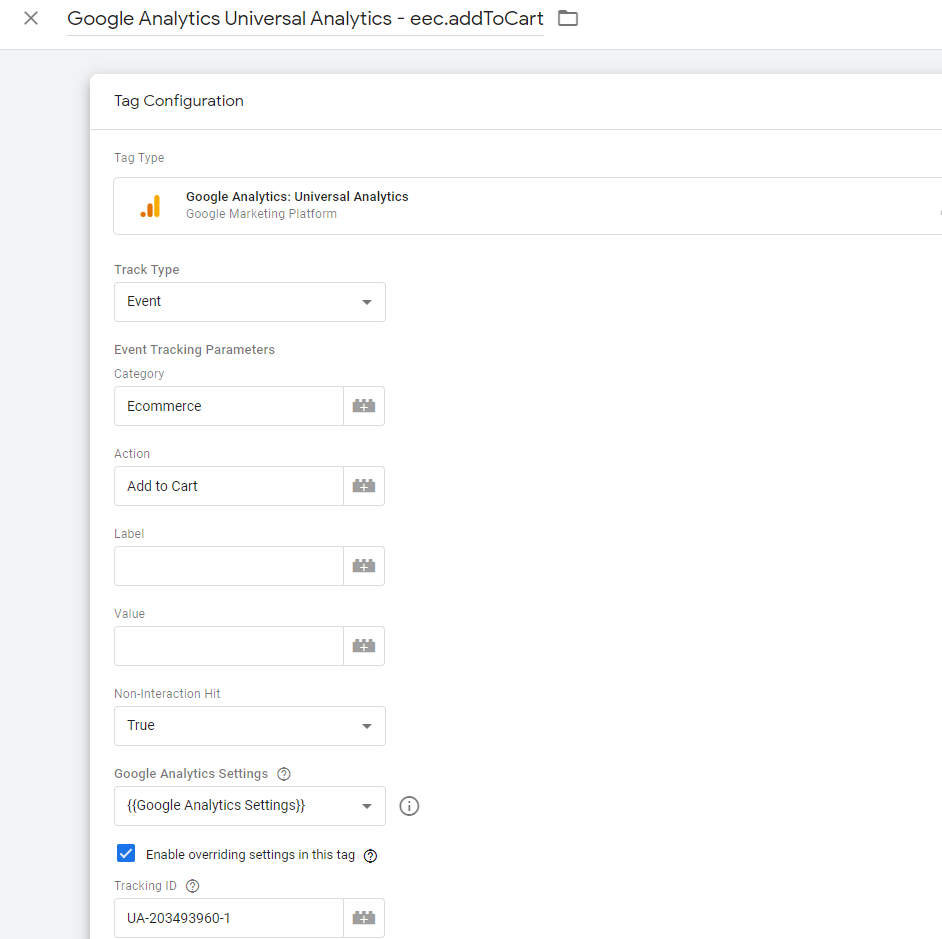
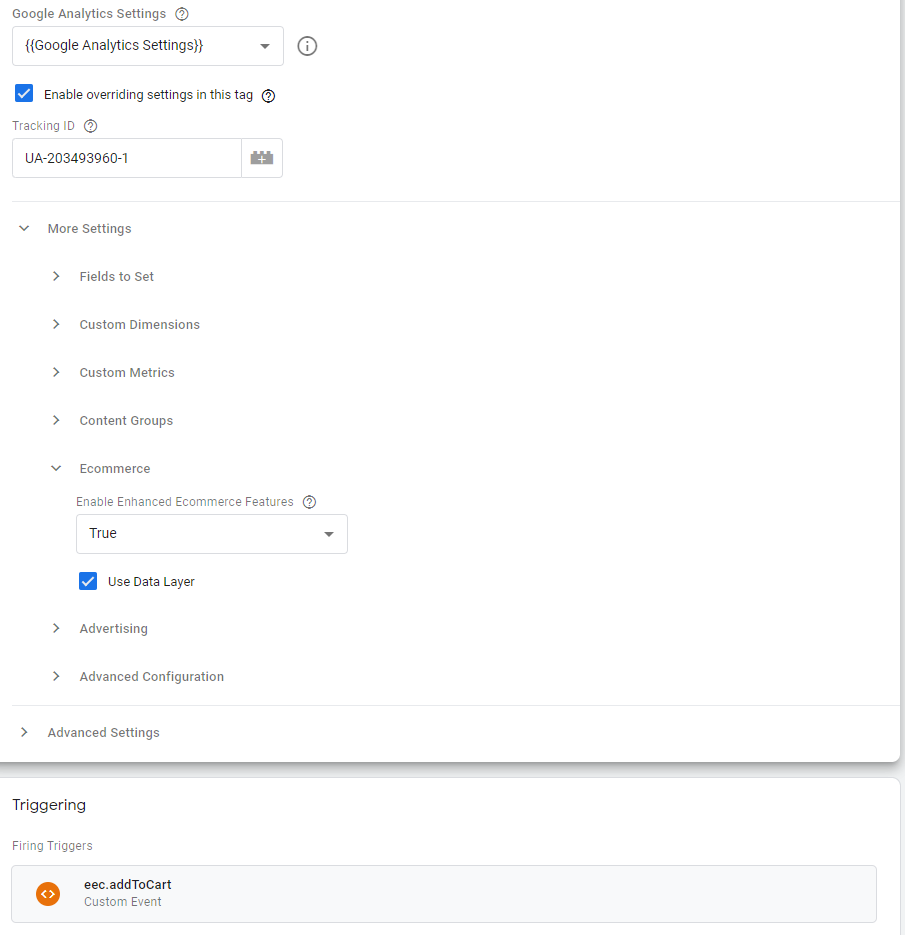
Do the same for the triggers you made, such that you have one for each trigger
¶ Google Analytics Views
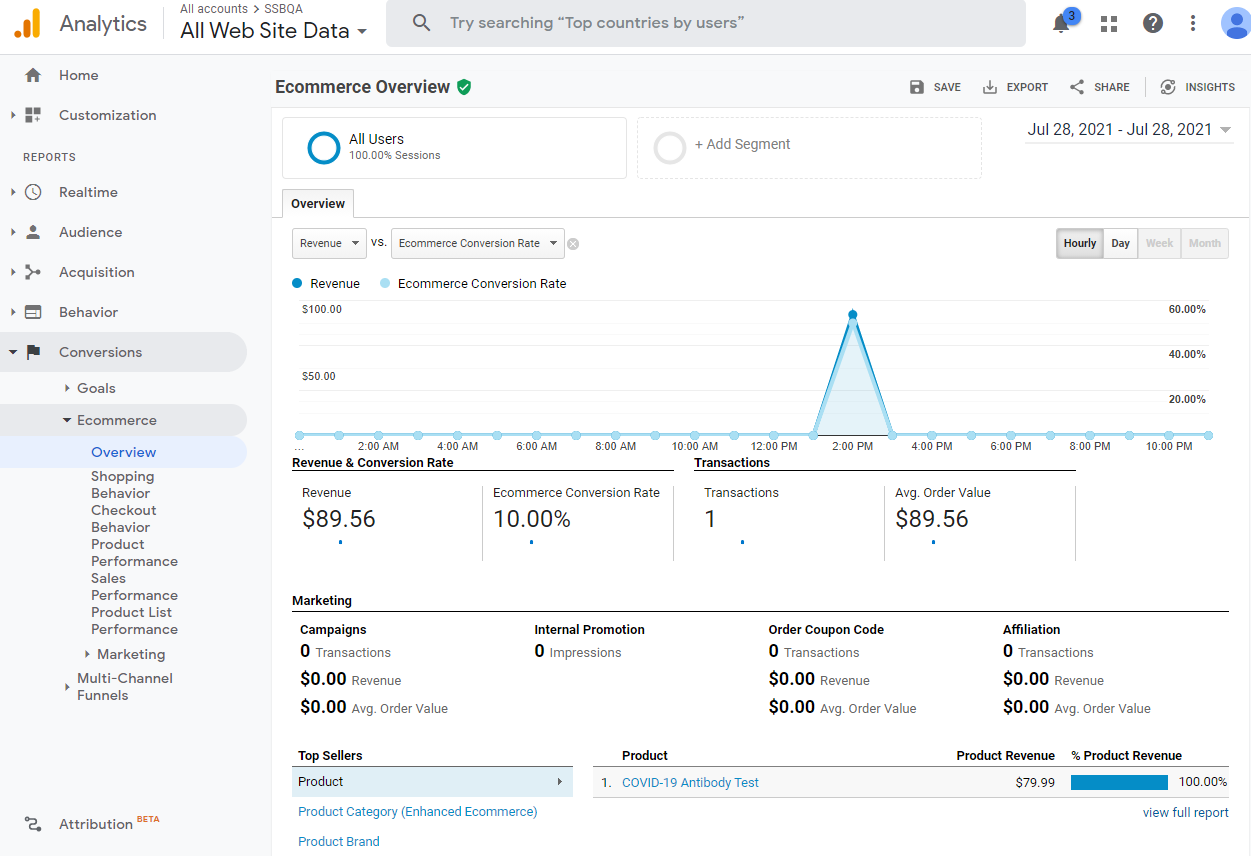
On a successful setup, you should be able to see the Realtime views for successfully tracked users on your google analytics site.
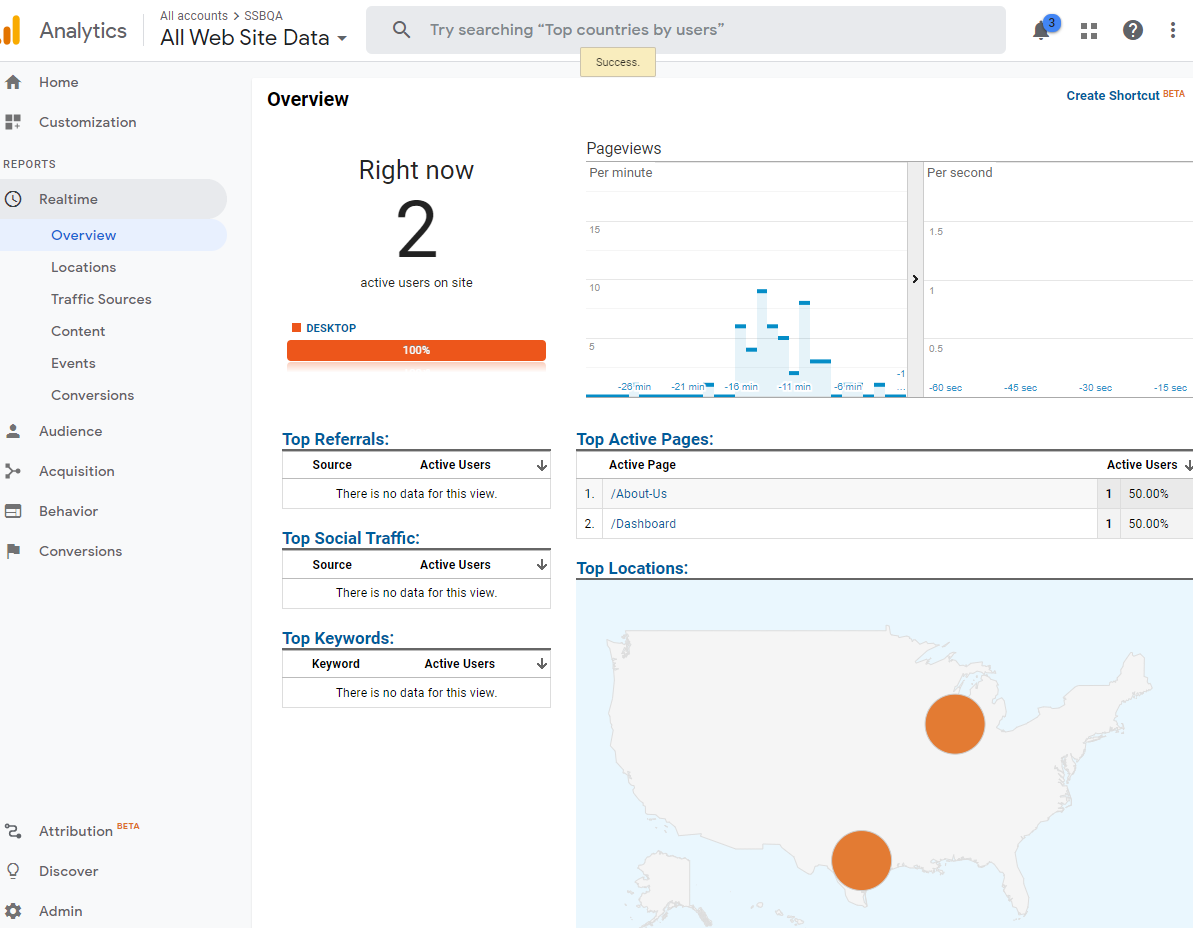
Under 'Conversions, ecommerce', you will be able to see successful checkout data