I. First travel to the following website to reach the login page.
-
a. 207.207.33.162
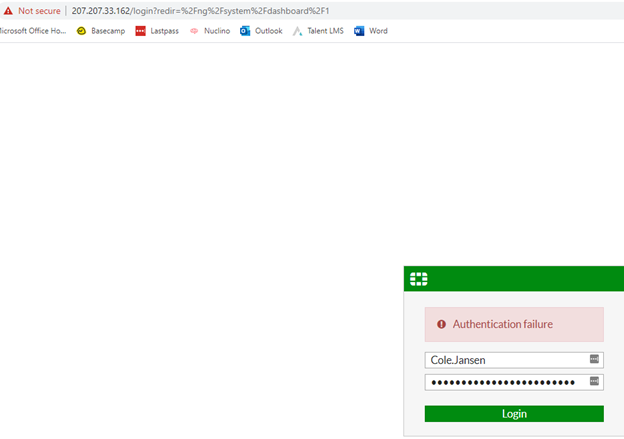
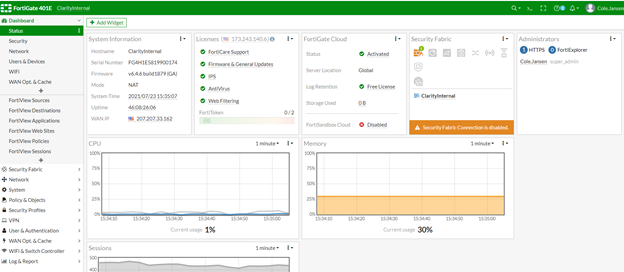
II. After logging in, it should bring you to the following interface.
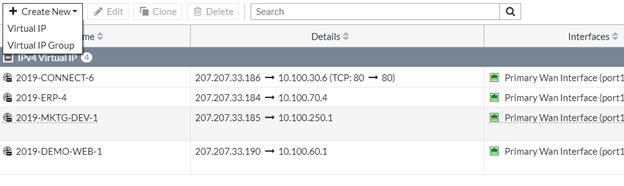
III. Select Policy & Objects and then select Virtual IPs.
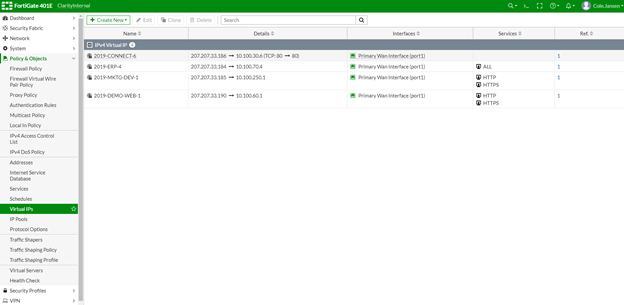
IV. Next verify the Data Foundry Documentation on what IPs are available to use, anything is available except the .162 address. Basically everything from .163 to .190 that is currently not taken.

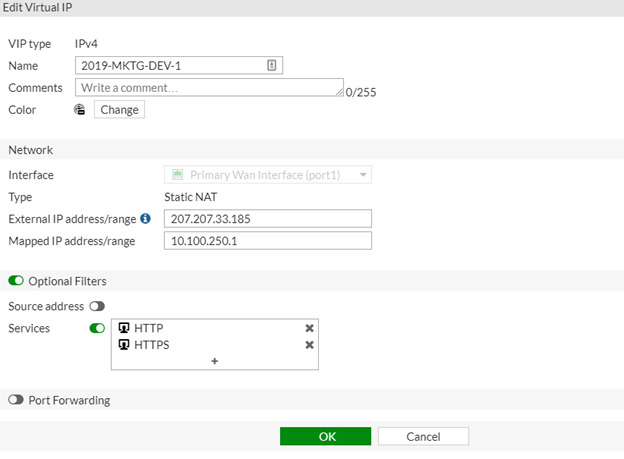
V. First step is to become familiar with a previously established Virtual IP, select one in this case 2019-MKTG-DEV-1 and select Edit.
VI. You can use this as a template when creating your new virtual IP, select Create New -> Virtual IP.
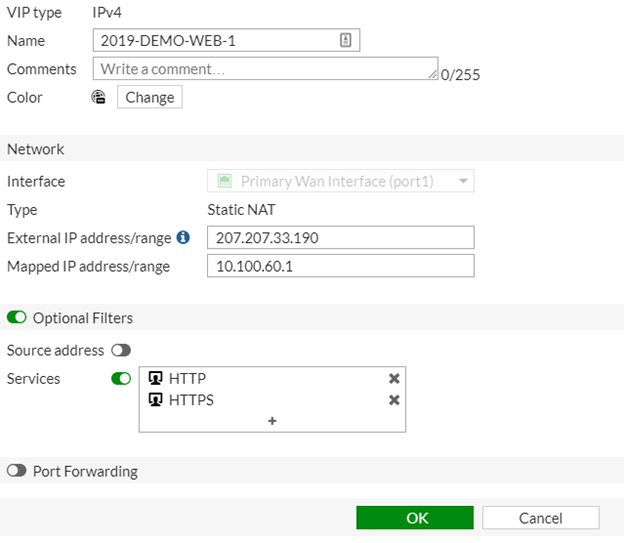
VII. Enter the relevant data, Enter the corresponding Machines Name, select the Primary WAN Interface port 1 option, maintain the Static NAT option, Select an available External IP, find the Internal IP for the machine, select relevant services such as HTTP, and HTTPS that are required for functionality.
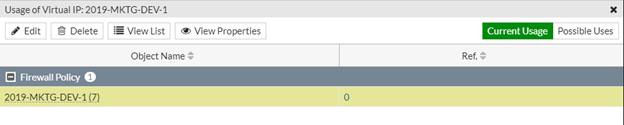
VIII. Next Step will be to create a reference for the new virtual IP, to do this select a previously created one. To do this Select the number under the Reference column and then select the machine in question, and at the upper left of the pane select Edit which will bring up the firewall policy.
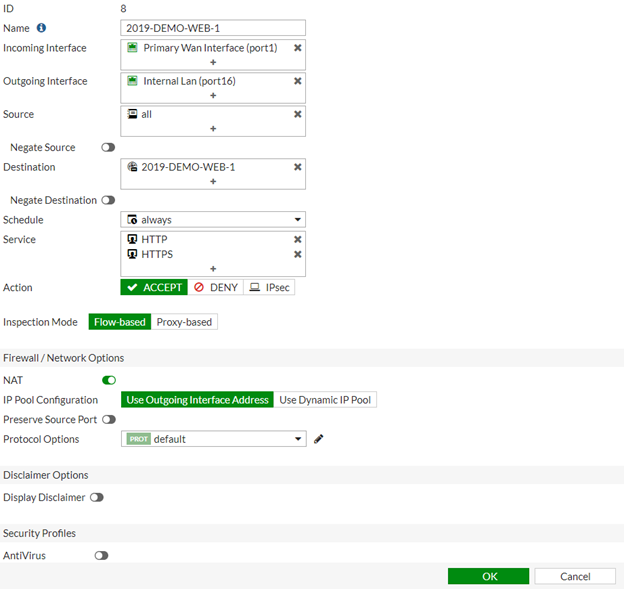
IX. Next open up the firewall policy, and also create a duplicate tab of that firewall policy and put them side by side so you can reference one while creating a new one.
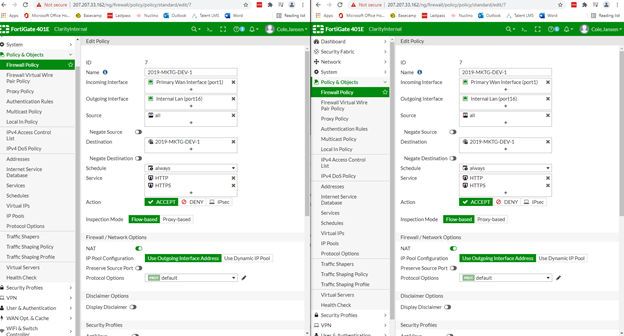
X. Leave the ID alone, enter the new corresponding machines Name, select the Primary Wan Interface port 1 for the incoming interface. For the outgoing interface select Internal lan port 16, source will be all, destination will correspond with the machine name, schedule will be always, services will reflect whatever had been chosen when creating the Virtual IP so in our case HTTP and HTTPS, action will be ACCEPT, and it will be flow-based. Once finished select OK.